
Introduction
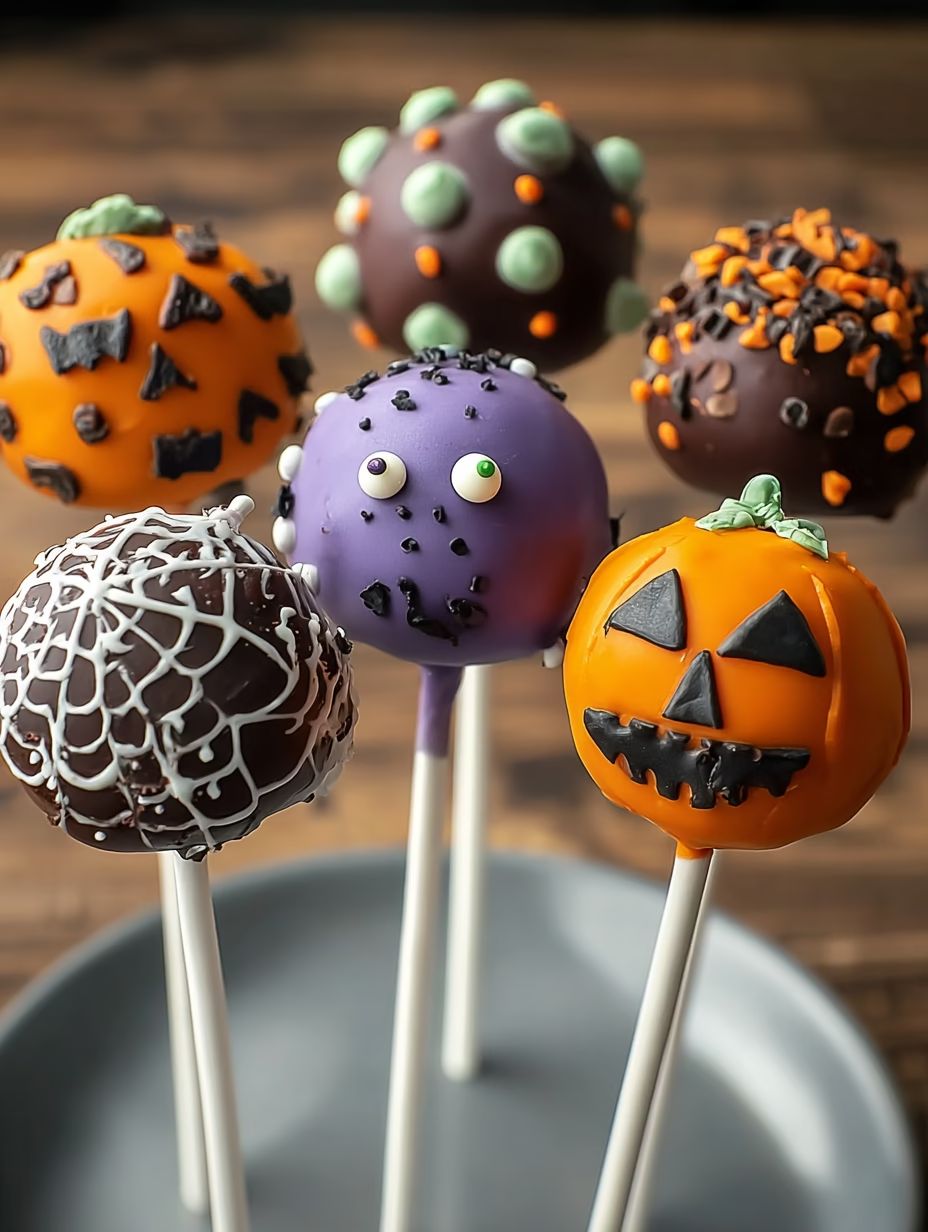
Halloween Cake Pops are the ultimate seasonal treat that brings a perfect mix of spooky fun and sweet indulgence to your celebrations. Imagine bite-sized chocolate or red velvet cakes transformed into hauntingly adorable cake pops, decorated with candy eyeballs, sprinkles, and vibrant Halloween colors. Whether you’re hosting a Halloween party or looking for a festive activity with kids, these Halloween Cake Pops are simple, creative, and guaranteed to impress. In this recipe, we’ll guide you through every step, offering tips, flavor variations, and tricks to achieve cake pop perfection.
These miniature desserts are more than just sweets—they’re edible art that combines creativity, texture, and rich chocolatey or creamy flavors in every bite. And the best part? You don’t need to be a professional baker to make them look stunning.
Why You’ll Love This Recipe
-
Fearless Flavor Explosion: Rich chocolate or red velvet base with smooth, creamy frosting ensures every bite is decadent.
-
Fun & Festive: Decorate with candy eyeballs, sprinkles, and colored chocolate for a Halloween-ready presentation.
-
Kid-Friendly Activity: A perfect DIY project to get children involved in baking.
-
Quick Preparation: Cake balls can be prepped in under an hour and chilled for fast dipping.
-
Budget-Friendly: Uses simple pantry ingredients and a store-bought cake mix.
-
Customizable: Swap flavors, colors, and decorations to suit your Halloween theme.
-
Party-Perfect: Ideal for school events, family gatherings, or spooky dessert tables.
-
Portable & Mess-Free: Easy to serve at parties or give as cute edible gifts.
Ingredients
For the Cake
-
1 box chocolate or red velvet cake mix
-
2 medium eggs (per package instructions)
-
¼ cup oil (per package instructions)
-
½ cup water (per package instructions)
For the Binding
-
½ to 1 cup frosting (chocolate or cream cheese works best)
For the Coating
-
12 oz candy melts or chocolate in Halloween colors (orange, black, green)
For Presentation
-
24 lollipop sticks
For Decorations
-
Candy eyeballs
-
Halloween-themed sprinkles
-
Colored sugar (optional)
-
Gel food coloring for tinting chocolate
-
Red gel icing for spooky eyeball details
-
Green frosting or fondant for pumpkin stems
Pro Tip: Use high-quality cake mix and fresh eggs to achieve moist, flavorful cake pops. For a richer flavor, experiment with homemade frosting instead of store-bought.
Step-by-Step Instructions
Step 1: Bake the Cake
-
Preheat your oven to 375°F (190°C).
-
Prepare the cake mix according to package instructions using eggs, oil, and water.
-
Pour batter into a greased 12-cup muffin tin or lined baking dish.
-
Bake 25–30 minutes until a toothpick comes out clean.
-
Let the cake cool completely.
Step 2: Form Cake Balls
-
Crumble the cooled cake into a large bowl.
-
Add ½ to 1 cup frosting, mixing until the consistency resembles sticky dough.
-
Roll mixture into 1-inch balls and place on a parchment-lined tray.
-
Chill in the fridge for 1–2 hours or freeze 30 minutes for easier handling.
Step 3: Prepare Cake Pops
-
Melt candy melts or chocolate in a microwave-safe bowl, stirring every 30 seconds until smooth.
-
Dip the tip of each lollipop stick into melted chocolate, then insert it into the center of each cake ball.
-
Dip the entire cake pop into melted chocolate, letting excess drip off.
-
Place on parchment paper to set.
Step 4: Decorate
-
While chocolate is still warm, attach candy eyeballs and sprinkle Halloween decorations.
-
Use colored chocolate or icing for additional spooky details, like pumpkin faces or bloody veins.
-
Set upright in a cake pop stand or Styrofoam block until fully hardened.
Science Behind the Coating: The chocolate shell seals in moisture from the cake ball, keeping the interior soft while creating a crisp, glossy outer layer. This combination of textures is essential for the perfect cake pop.
Pro Tips & Tricks
H3: How Do You Keep Cake Pops from Falling Off Sticks?
Dip the lollipop stick in melted chocolate before inserting. This acts as glue, stabilizing the pop while the coating sets. Chill pops to firm them quickly.
H3: Can I Make Halloween Cake Pops Ahead of Time?
Yes! Cake pops can be stored in an airtight container at room temperature for 2 days, in the fridge for up to 5 days, or frozen for 2–3 weeks.
H3: How Do I Make Chocolate Cake Pops Look Professional?
-
Use smooth, slightly warmed chocolate for even coating.
-
Decorate immediately before the chocolate hardens.
-
Experiment with edible glitter, colored sprinkles, and piped details.
Best Ways to Serve Halloween Cake Pops
-
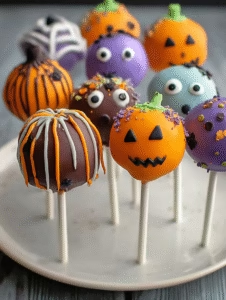
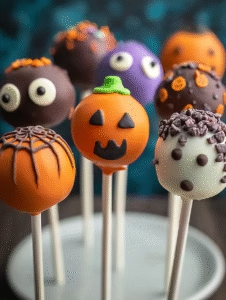
Display upright in a Styrofoam block, candy bucket, or Halloween-themed vase.
-
Pair with hot cocoa or spiced apple cider for cozy seasonal vibes.
-
Package individually in cellophane with ribbons for party favors.
-
Serve alongside Halloween-themed cupcakes or spooky cookies for a dessert table.
Crosslink suggestion: Check out our Halloween Cupcake Recipes for matching treats.
Nutrition Information (Per Serving, 1 Cake Pop)
-
Calories: 180
-
Total Fat: 9g
-
Saturated Fat: 5g
-
Cholesterol: 25mg
-
Sodium: 95mg
-
Total Carbs: 24g
-
Sugars: 18g
-
Protein: 2g
Note: Nutritional values vary depending on frosting and chocolate used.
Storage & Leftovers
-
Room Temperature: Airtight container, up to 2 days.
-
Refrigerator: Airtight container, up to 5 days. Bring to room temperature before serving.
-
Freezer: Individually wrap pops in plastic wrap, store in airtight container, up to 3 weeks. Thaw overnight in fridge.
FAQs
Q1: Can I use homemade cake instead of boxed mix?
Yes! Homemade chocolate, vanilla, or red velvet cake works perfectly. Ensure the cake is fully cooled and crumbled evenly.
Q2: How can I make cake pops for kids without chocolate?
Use colored yogurt melts or candy melts for a non-chocolate coating. You can also use cream cheese frosting as a dip.
Q3: What if my cake pops crack after dipping?
This happens if the cake is too dry or chocolate too thick. Add more frosting to cake balls and slightly thin the chocolate with a bit of coconut oil.
Q4: How do I store decorated cake pops for a party?
Place upright in a Styrofoam block or cake pop stand. Avoid stacking to prevent decorations from smudging.
Variations
-
Chocolate Lovers: Use dark chocolate cake and ganache coating.
-
Vegan Halloween Cake Pops: Use plant-based cake mix and vegan frosting.
-
Pumpkin Spice: Add pumpkin puree and cinnamon to cake mix for autumn flavors.
-
Mini Cake Balls: Make bite-sized pops for easier snacking.
-
Regional Twists: Swap chocolate for dulce de leche, matcha, or tropical flavors depending on preference.
Conclusion
These Halloween Cake Pops aren’t just desserts—they’re little bites of creativity and joy. Easy to make, endlessly customizable, and irresistibly fun, they are guaranteed to be the highlight of your Halloween party. Celebrate the season, impress your guests, and make spooky memories that everyone will savor.