
Introduction
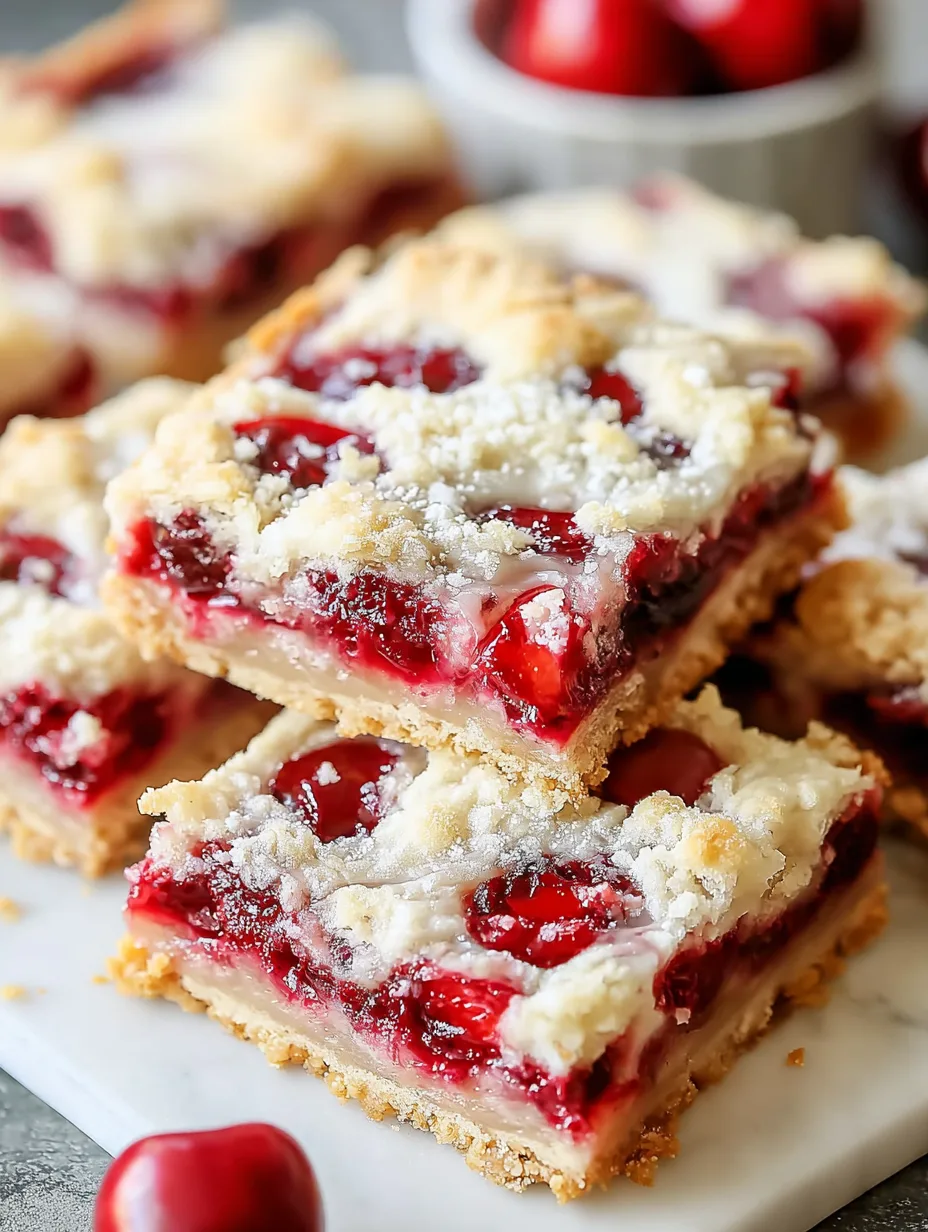
Buttery, crumbly, and bursting with juicy fruit flavor, Cherry Pie Bars Recipe is the kind of treat that instantly feels like home. These bars combine the rich taste of a classic cherry pie with the convenience of a handheld dessert. Perfect for gatherings, holidays, or a simple weeknight indulgence, they offer a balance of sweet and tart in every bite. You don’t need advanced baking skills to make them shine. You’ll learn how to create bakery-quality bars with simple ingredients and foolproof steps.
Why You’ll Love This Recipe
There’s something irresistible about the contrast in these bars. The base is soft and buttery, while the top turns lightly golden with a delicate crisp. In between, the cherry filling adds a juicy burst that melts into every layer. This Cherry Pie Bars Recipe stands out because it delivers all the flavors of traditional pie without the stress of rolling dough.
You’ll also love how versatile and forgiving the recipe feels. Whether you use fresh, frozen, or canned cherries, the result still tastes incredible. The texture hits all the right notes—tender crust, sticky filling, and a slightly crisp top layer. Plus, these bars travel well, making them perfect for picnics or potlucks.
If you enjoy easy cherry dessert bars or quick fruit bar recipes, this one will quickly become a go-to favorite in your kitchen.
Ingredients
To make this Cherry Pie Bars Recipe , you’ll need simple pantry staples combined with a vibrant cherry filling:
- 1 cup (226 g) unsalted butter, softened
- 2 cups (400 g) granulated sugar
- 4 large eggs
- 1 teaspoon vanilla extract
- 3 cups (375 g) all-purpose flour
- 1 teaspoon salt
- 1 can (21 oz / 595 g) cherry pie filling
- ½ teaspoon almond extract (optional, enhances cherry flavor)
- 1 cup (120 g) powdered sugar (for glaze)
- 2–3 tablespoons milk (for glaze consistency)
The butter creates a rich, tender base, while the cherry filling provides that signature sweet-tart flavor. Almond extract adds depth and pairs beautifully with cherries.
Pro Tips
Getting the best results from your Cherry Pie Bars Recipe comes down to a few key techniques.
First, always use softened butter, not melted. Soft butter creams better with sugar, creating a light texture that keeps the bars tender. If the butter feels too warm, the dough may turn greasy and affect the final structure.
Second, spread the batter evenly and reserve enough for the topping. Use an offset spatula to smooth the base layer, ensuring even baking. When adding the top layer, drop spoonfuls instead of spreading—it creates a rustic look and allows the cherry filling to peek through.
Third, don’t overbake. The edges should turn lightly golden, but the center should stay soft. Overbaking dries out the bars and dulls the fruit flavor. Let them cool completely before slicing to achieve clean, neat squares.
Instructions
Step 1: Prepare the Oven and Pan
Preheat your oven to 350°F (175°C). Line a 9×13-inch baking pan with parchment paper or lightly grease it to prevent sticking.
Step 2: Cream Butter and Sugar
In a large mixing bowl, beat the softened butter and granulated sugar until light and fluffy. This step builds the base texture, so mix for at least 2–3 minutes.
Step 3: Add Eggs and Flavoring
Add the eggs one at a time, mixing well after each addition. Stir in the vanilla extract and almond extract if using. The batter should look smooth and slightly glossy.
Step 4: Incorporate Dry Ingredients
Gradually add the flour and salt, mixing just until combined. Avoid overmixing to keep the bars soft and tender.
Step 5: Assemble the Layers
Spread about two-thirds of the batter evenly into the prepared pan. Pour the cherry pie filling over the base and spread gently. Drop spoonfuls of the remaining batter over the top.
Step 6: Bake to Perfection
Bake for 35–40 minutes, or until the top turns golden and the edges set. The center should remain slightly soft.
Step 7: Cool and Glaze
Allow the bars to cool completely in the pan. Mix powdered sugar with milk to create a smooth glaze, then drizzle it over the cooled bars for a sweet finishing touch.
Variations
One of the best things about this Cherry Pie Bars Recipe is how easily you can customize it.
For a mixed berry twist, swap the cherry filling with a combination of blueberry and raspberry. This creates a deeper, more complex fruit flavor while keeping the same texture.
If you prefer a lighter version, reduce the sugar slightly and use a low-sugar fruit filling. You can also try whole wheat flour for a nuttier base, though it will slightly change the texture.
For a richer dessert, add white chocolate chips to the batter. They melt into the crust and complement the tart cherries beautifully. Fans of homemade cherry dessert squares often enjoy experimenting with these simple variations.
Storage and Serving
Store your Cherry Pie Bars Recipe in an airtight container at room temperature for up to two days. For longer storage, refrigerate them for up to five days. Let them come to room temperature before serving for the best flavor and texture.
You can also freeze these bars. Wrap them individually and store them in a freezer-safe container for up to three months. Thaw overnight in the fridge before enjoying.
Serve these bars slightly warm with a scoop of vanilla ice cream for a classic pairing. They also taste amazing with whipped cream or a dusting of powdered sugar for a lighter option.
FAQs
Can I use fresh cherries instead of canned filling?
Yes, cook fresh cherries with sugar and cornstarch until thick to create a homemade filling.
Do I need to refrigerate the bars?
Not immediately. They stay fresh at room temperature for a couple of days, but refrigeration extends shelf life.
Can I make this recipe gluten-free?
Yes, substitute the all-purpose flour with a gluten-free baking blend designed for 1:1 replacement.
Why is my crust too soft?
You may have underbaked the bars or added too much moisture. Bake until the edges turn golden.
Can I skip the glaze?
Absolutely. The bars taste great without it, but the glaze adds extra sweetness and visual appeal.
Conclusion
This Cherry Pie Bars Recipe is comfort food at its finest — a buttery, fruit-filled treat that blends the charm of classic pie with the ease of a simple bar dessert. It’s the kind of dish that brings people together, whether you’re hosting a gathering or enjoying a quiet moment with something sweet.
Print
Cherry Pie Bars Recipe Easy Homemade Dessert
- Total Time: 45 minutes
Description
Craving something sweet and simple? These cherry pie bars deliver rich, fruity flavor with a buttery bite that feels like homemade comfort in every square.
Ingredients
- 1 cup unsalted butter, softened
- 2 cups granulated sugar
- 4 large eggs
- 1 teaspoon vanilla extract
- 3 cups all-purpose flour
- 1 teaspoon salt
- 1 can (21 oz) cherry pie filling
- ½ teaspoon almond extract (optional)
- 1 cup powdered sugar
- 2–3 tablespoons milk
Instructions
- Preheat oven to 350°F and prepare a 9×13-inch pan.
- Cream butter and sugar until light and fluffy.
- Add eggs one at a time, then mix in vanilla and almond extract.
- Stir in flour and salt until just combined.
- Spread two-thirds of the batter into the pan.
- Add cherry filling evenly over the base.
- Drop remaining batter on top in spoonfuls.
- Bake for 35–40 minutes until golden.
- Cool completely, then drizzle with glaze before serving.
- Prep Time: 15 minutes
- Cook Time: 30 minutes
- Category: baking
- Cuisine: American