
Introduction
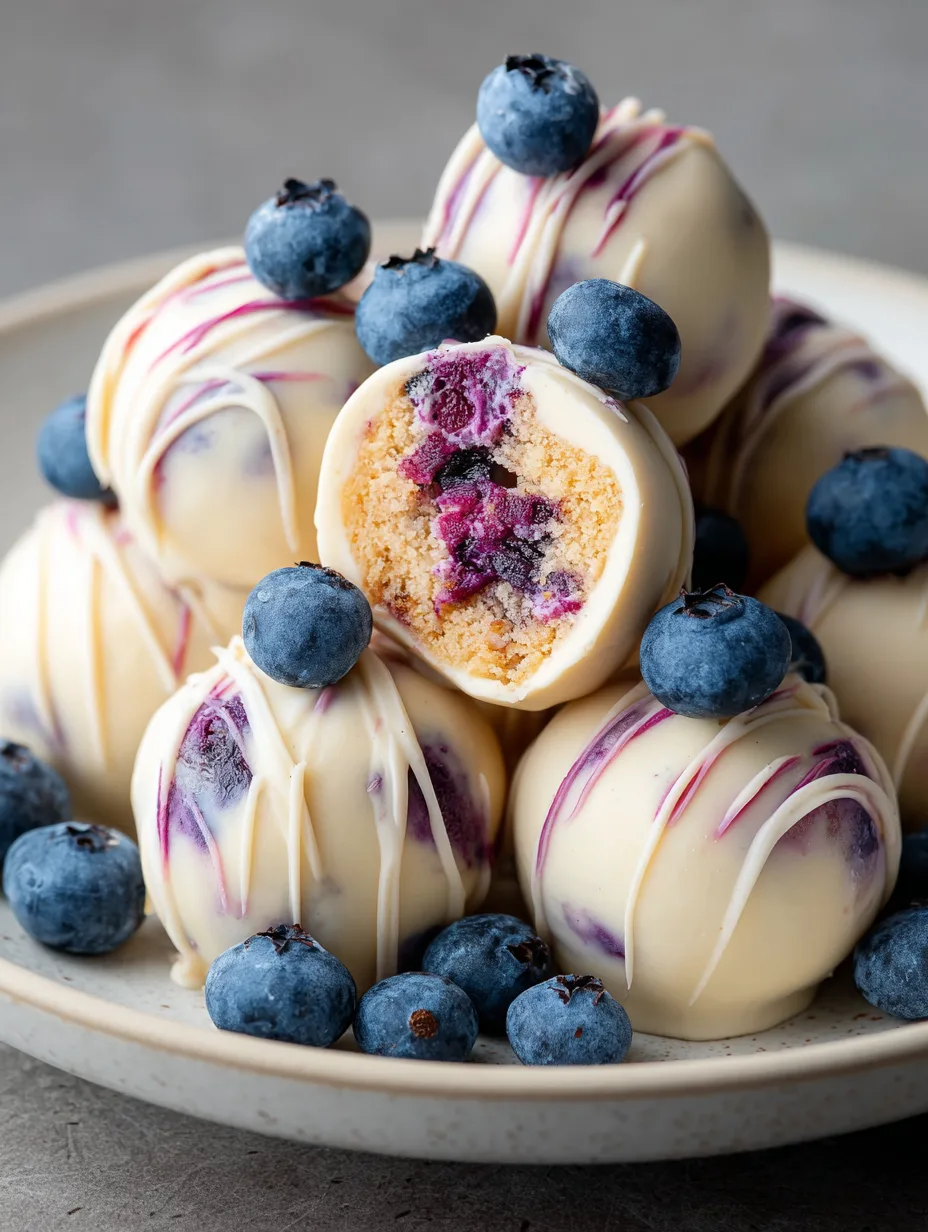
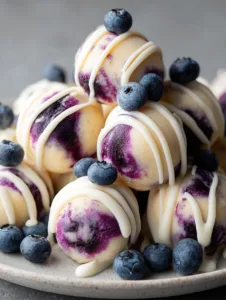
Indulge in the creamy, tangy delight of Blueberry Cheesecake Truffles Recipe, a bite-sized dessert that’s both elegant and irresistibly rich. These truffles combine the smooth, velvety texture of cheesecake with the sweet burst of fresh blueberries, all coated in a delicate chocolate shell. Perfect for parties, gifts, or a decadent treat at home, these truffles deliver flavor and sophistication in every bite. You’ll learn how to create these luscious treats step by step, from mixing the cheesecake base to achieving the perfect chocolate coating.
Why You’ll Love This Recipe
You’ll fall in love with these Blueberry Cheesecake Truffles Recipe for their unique texture contrasts: the crunchy chocolate exterior meets a creamy, melt-in-your-mouth cheesecake interior, bursting with sweet-tart blueberry flavor. They’re effortless to make, requiring no baking and minimal ingredients, yet they deliver a gourmet dessert experience. These truffles are highly versatile—they can be customized with different berries, chocolate types, or coatings, making them ideal for any occasion. Perfect for dessert tables, afternoon snacks, or gift boxes, they’re as visually appealing as they are delicious. Even novice bakers can achieve professional-looking results with this simple yet satisfying recipe.
Ingredients
-
8 oz. cream cheese, softened
-
1 cup powdered sugar, sifted
-
1 tsp pure vanilla extract
-
1/2 cup graham cracker crumbs
-
1/2 cup fresh blueberries, finely chopped
-
8 oz. white chocolate or milk chocolate, for coating
-
1 tsp lemon zest (optional, for a citrusy kick)
-
Extra graham cracker crumbs or crushed freeze-dried blueberries for garnish
These ingredients combine to form a smooth, tangy cheesecake center that pairs beautifully with a crisp chocolate shell. Using fresh blueberries ensures vibrant flavor and color, while finely chopped berries prevent a soggy filling. The chocolate coating can be customized with milk, dark, or white chocolate for different tastes and aesthetics.
Pro Tips
-
Soften the Cream Cheese Properly – Ensure your cream cheese is at room temperature. Cold cream cheese will result in a lumpy, uneven mixture that’s hard to shape.
-
Freeze for Easy Shaping – Chill the mixture for at least 30 minutes before rolling into truffles. This prevents sticking and allows for smoother, rounder balls.
-
Temper Your Chocolate for a Smooth Finish – Slightly warm and cool your chocolate to prevent cracking or a dull appearance. A smooth, glossy coating makes the truffles look professionally made.
Instructions
Step 1: Prepare the Cheesecake Mixture
In a large mixing bowl, combine softened cream cheese, powdered sugar, and vanilla extract. Beat until the mixture is smooth and creamy. Gently fold in the finely chopped blueberries, graham cracker crumbs, and lemon zest if using. Avoid overmixing to maintain a fluffy texture.
Step 2: Chill the Mixture
Cover the bowl with plastic wrap and place it in the freezer for 30–40 minutes. Chilling firms up the mixture, making it easier to roll into uniform balls without sticking to your hands.
Step 3: Form the Truffles
Using a small cookie scoop or a teaspoon, scoop portions of the chilled cheesecake mixture and roll them into smooth, round balls. Place them on a parchment-lined baking sheet. If the mixture becomes too soft, return it to the freezer for a few minutes.
Step 4: Prepare the Chocolate Coating
Melt the chocolate in a microwave-safe bowl or using a double boiler. Heat in short bursts of 15–20 seconds, stirring in between to avoid burning. Let the chocolate cool slightly before dipping the truffles.
Step 5: Dip the Truffles
Using a fork or dipping tool, carefully dip each cheesecake ball into the melted chocolate, fully coating it. Gently tap off excess chocolate and return the truffle to the parchment-lined sheet. Sprinkle immediately with extra graham cracker crumbs or crushed freeze-dried blueberries for garnish.
Step 6: Chill and Set
Place the coated truffles in the refrigerator for at least 1 hour to allow the chocolate to harden completely. This ensures a crisp shell and a creamy interior.
Step 7: Serve and Enjoy
Serve chilled on a decorative platter or package in small boxes as gifts. For extra flair, drizzle with melted contrasting chocolate or top with whole blueberries for presentation.
Variations
-
Chocolate Lovers – Use dark chocolate instead of white chocolate for a richer, less sweet coating.
-
Berry Mix – Swap blueberries for raspberries or chopped strawberries for a tangy twist.
-
Vegan Option – Use vegan cream cheese and dairy-free chocolate to create a plant-based version of this indulgent treat.
Storage/Serving
Store these Blueberry Cheesecake Truffles Recipe in an airtight container in the refrigerator for up to 5 days. For longer storage, freeze the truffles for up to 2 months; thaw in the fridge before serving. Serve chilled for the best texture and flavor. They make an ideal dessert platter, bite-sized snack for parties, or sweet gift packaged in decorative boxes. Pair with coffee, tea, or sparkling wine to elevate the experience.
FAQs
Q1: Can I make these truffles ahead of time?
Yes, prepare them a day or two in advance. Store in the refrigerator to maintain freshness and texture.
Q2: Can I use frozen blueberries?
Yes, but make sure to thaw and pat dry to prevent excess moisture from affecting the truffle consistency.
Q3: How do I prevent the chocolate from cracking?
Temper the chocolate by slightly warming and cooling it, and avoid dipping truffles straight from the freezer.
Q4: Can I roll the truffles in something other than chocolate?
Yes, try rolling in cocoa powder, powdered sugar, or finely crushed nuts for variety.
Q5: Are these truffles suitable for gifting?
Absolutely. They can be arranged in decorative boxes and refrigerated until ready to gift, making them a thoughtful and delicious homemade treat.
Conclusion
This Blueberry Cheesecake Truffles Recipe is comfort food at its finest — each bite delivers a creamy cheesecake center with bursts of juicy blueberries, encased in a crisp, chocolatey shell. It’s the kind of dessert that elevates any occasion, whether for intimate gatherings, special celebrations, or simply indulging yourself. With minimal ingredients and no baking required, these truffles offer maximum flavor with effortless preparation, making them an ideal go-to sweet treat.
Print
Blueberry Cheesecake Truffles Recipe
- Total Time: 40mins
Description
Experience creamy cheesecake and juicy blueberries in every bite with these irresistible Blueberry Cheesecake Truffles. Perfect for parties, gifts, or a sweet treat anytime.
Ingredients
-
8 oz. cream cheese, softened
-
1 cup powdered sugar, sifted
-
1 tsp pure vanilla extract
-
1/2 cup graham cracker crumbs
-
1/2 cup fresh blueberries, finely chopped
-
8 oz. white chocolate or milk chocolate, for coating
-
1 tsp lemon zest (optional)
-
Extra graham cracker crumbs or crushed freeze-dried blueberries for garnish
Instructions
-
Combine softened cream cheese, powdered sugar, and vanilla extract in a large bowl until smooth. Fold in chopped blueberries, graham cracker crumbs, and lemon zest.
-
Cover and chill the mixture in the freezer for 30–40 minutes.
-
Scoop portions and roll into smooth balls. Place on a parchment-lined sheet.
-
Melt chocolate in short bursts, stirring to prevent burning. Let cool slightly.
-
Dip each truffle into the melted chocolate, tap off excess, and place back on the sheet. Sprinkle with garnish if desired.
-
Refrigerate for at least 1 hour to allow the chocolate to set.
-
Serve chilled or package as gifts.
- Prep Time: 15 mins
- Cook Time: 25mins
- Category: Cooking
- Cuisine: American