
Who doesn’t love a cold, fruity treat that hits the sweet spot while keeping things light and healthy? Whether you’re chilling by the pool, planning a backyard bash, or simply looking for a way to cool down without packing in the calories, cherry lime ice pops are here to save your summer! This article is your all-in-one guide to crafting the most refreshing, naturally sweet, and tangy frozen treats right at home. From ingredient swaps to health benefits, and even common pitfalls to avoid — we’ve got you covered from prep to pop. Let’s dive in!
Part 1: Introduction to Cherry Lime Ice Pops
Introduction to Cherry Lime Ice Pops
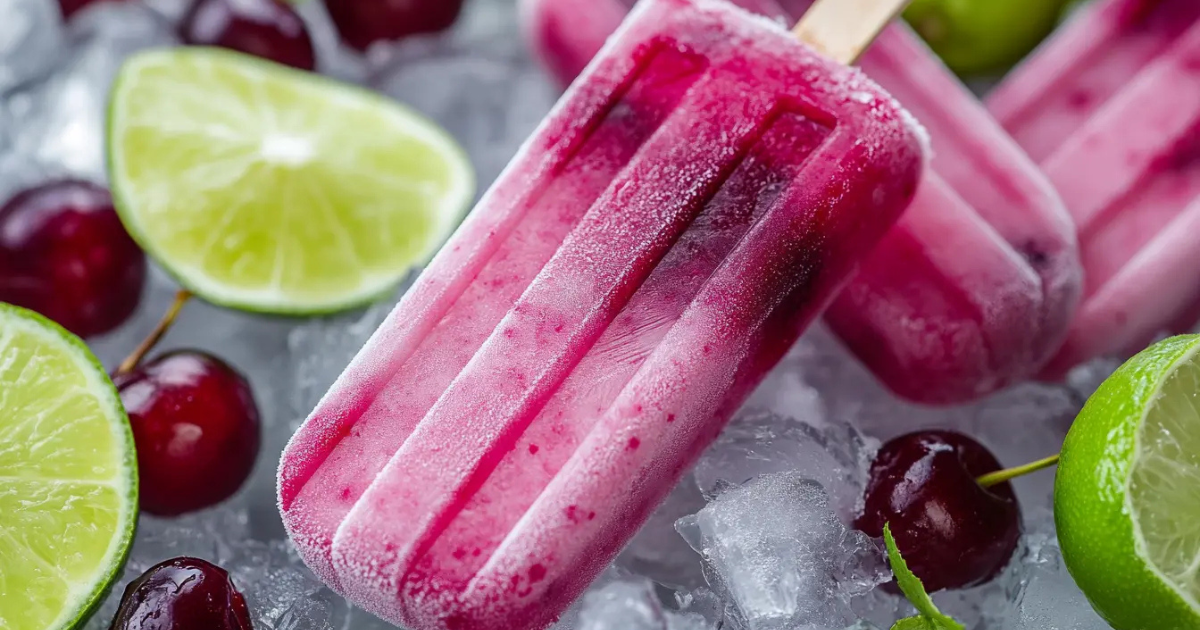
If you’ve been craving a vibrant, thirst-quenching snack that’s both easy to make and good for you, cherry lime ice pops are the answer. These fruit-based frozen delights blend the sweet depth of ripe cherries with the bright zing of lime juice to create the ultimate summer dessert. Honestly, they’re like a popsicle party for your taste buds — no artificial colors, preservatives, or complicated steps involved.
Besides being a hit with kids and grown-ups alike, these ice pops are perfect for all kinds of diets. Whether you’re vegan, gluten-free, or simply trying to cut down on sugar, you can tweak this recipe to suit your needs. And let’s not forget how visually appealing they are — those deep red swirls with hints of lime green? Instagram-worthy, no doubt.
Part 2: Why You’ll Love These Cherry Lime Ice Pops
Benefits of Homemade Ice Pops
Let’s face it — store-bought popsicles can be a sugar-loaded mystery. Who knows what half those ingredients even mean? That’s why homemade cherry lime ice pops are a total game-changer. When you make your own, you control what goes in — from the type of sweetener to the amount of tangy lime or juicy cherry you want.
But it doesn’t stop there. These DIY frozen treats are budget-friendly, easy to prep in batches, and way more nutritious than commercial brands. Plus, they’re a sneaky way to get your family (especially the little ones) to eat more fruit — without the fuss. 🍒
Craving something sweet after dinner? Want a mid-day refresher? These pops hit the mark every single time. And if you’re trying to reduce food waste, you can even use overripe cherries or leftover lime juice you’ve got sitting in your fridge.
Oh, and here’s the best part — they’re customizable, so you can easily switch things up with seasonal fruits or even toss in some mint leaves or coconut water for a fresh twist.
Perfect for Dietary Needs
Whether you’re plant-based, watching your sugar intake, or living the gluten-free life, these cherry lime ice pops check all the boxes. They’re naturally:
-
🌱 Vegan (just skip the honey)
-
🌾 Gluten-free
-
🚫 Dairy-free
-
🍬 Low in refined sugar (depending on your sweetener choice)
With no processed junk and only whole, nutrient-packed ingredients, these healthy popsicles are safe for kids, ideal for people with allergies, and perfect for those following a clean-eating lifestyle.
Part 3: Ingredients Breakdown
Ingredients Needed for Cherry Lime Ice Pops
Here’s where the magic starts. The beauty of these cherry lime ice pops is how simple and flexible the ingredients are — you don’t need a fancy pantry or hard-to-find items to make something downright crave-worthy.
Here’s what you’ll need:
-
Fresh or frozen cherries – Deep red, sweet cherries are ideal. If using frozen, make sure they’re pitted.
-
Freshly squeezed lime juice – For that zesty, tangy punch. Avoid the bottled stuff if possible — fresh is best.
-
Honey or agave syrup – Optional, but great if your cherries aren’t super sweet. You can also skip sweeteners altogether for a no-sugar-added popsicle.
-
Water or coconut water – This helps blend and smooth out the mixture. Coconut water adds a bonus electrolyte boost.
Optional add-ins:
-
Lime zest for an extra citrus kick
-
Fresh mint leaves for a cooling note
-
Plain yogurt for a creamier twist
These fruit ice pops come together with real, whole ingredients that are easy on the wallet and kind to your body. Plus, using cherries and lime means you’re packing in a whole lot of vitamins, fiber, and antioxidants in every bite.
Pro tip: According to the USDA, cherries are loaded with vitamin C, potassium, and even anti-inflammatory compounds — so they’re doing a lot more than just tasting good.
Ingredient Substitutions and Additions
Got different ingredients on hand? No worries — here’s how you can mix things up:
-
Can’t find fresh cherries? Frozen cherries work just as well and are available year-round.
-
Prefer a sugar alternative? Use stevia, maple syrup, or leave it unsweetened if your cherries are super ripe.
-
Want a softer texture? Add a splash of fruit juice (like orange or pineapple) to mellow out the tartness.
-
More citrusy flair? Throw in a pinch of lime zest for a burst of fragrance and flavor.
Part 4: Step-by-Step Recipe Instructions
How to Make Cherry Lime Ice Pops
Making these homemade popsicles is honestly as easy as 1-2-freeze. Whether you’re a total kitchen newbie or a seasoned snack wizard, this process is straightforward, mess-free, and super rewarding.
Follow these steps, and you’ll have your freezer stocked with refreshing cherry lime treats in no time:
-
Prep the cherries
Wash, pit, and roughly chop about 2 cups of cherries (fresh or thawed frozen). If you’re not into cherry chunks, you can even slice them finely or mash them a bit before blending.
-
Juice your limes
Squeeze the juice from 2–3 fresh limes — aim for about 1/4 cup. Make sure to remove the seeds. Fresh lime juice gives your pops that zingy brightness that bottled juice just can’t match.
-
Blend it all
In a blender, combine:
-
The cherries
-
Lime juice
-
1/4 cup water or coconut water
-
Optional: 1–2 tablespoons of honey or agave, depending on your sweetness preference
Blend until smooth. If you like a little texture, you can pulse instead of pureeing completely.
-
-
Strain it (optional)
If you prefer a smooth, no-pulp pop, strain the mixture using a fine mesh sieve. Totally optional, though — chunky pops have their charm too!
-
Pour into molds
Carefully pour the mixture into popsicle molds. Don’t fill them all the way to the top — leave a little room for expansion.
-
Insert sticks and freeze
Place the sticks in the center, then freeze for at least 4–6 hours (or overnight if you can wait that long). Once fully frozen, run the molds under warm water for a few seconds to release the pops.
Pro Tips for Perfect Pops
-
Avoid ice crystals: Blend thoroughly and use ripe fruit.
-
Optional: 1–2 tablespoons of honey or agave, depending on your sweetness preference
Blend until smooth. If you like a little texture, you can pulse instead of pureeing completely.
-
Strain it (optional)
If you prefer a smooth, no-pulp pop, strain the mixture using a fine mesh sieve. Totally optional, though — chunky pops have their charm too! -
Pour into molds
Carefully pour the mixture into popsicle molds. Don’t fill them all the way to the top — leave a little room for expansion. -
Insert sticks and freeze
Place the sticks in the center, then freeze for at least 4–6 hours (or overnight if you can wait that long). Once fully frozen, run the molds under warm water for a few seconds to release the pops.
Pro Tips for Perfect Pops
-
Avoid ice crystals: Blend thoroughly and use ripe fruit. The more water you add, the icier they’ll get — so go easy.
-
For smooth texture: Use strained fruit purée and don’t over-freeze past 24 hours if you’re serving them fresh.
-
Easy removal trick: Run the molds under warm (not hot!) water for 10–15 seconds. Twist gently — no tugging!
-
Best molds: Silicone or BPA-free plastic molds are your best bet. You can even use paper cups in a pinch.
For more healthy treat ideas, check out how to make smoothies without yogurt for a dairy-free option — they pair perfectly with popsicles for a chill summer snack duo.
Part 5: Flavor Variations
Cherry Lime Ice Pop Variations to Try
Sure, the classic cherry lime combo is already a crowd-pleaser, but why not shake things up a bit? These healthy popsicles are super versatile, which means you can easily customize them based on your cravings or what’s in your kitchen.
Here are a few flavor-packed variations to take your cherry lime ice pops to the next level:
-
🍒 Cherry Lime Coconut Cream
Add a splash (about 1/4 cup) of coconut milk to the blender. It softens the tartness and gives the pops a dreamy, smooth consistency. -
🍃 Cherry Lime Mint
Add a few fresh mint leaves into the blender or infuse them into the water beforehand for ultra-refreshing pops. -
✨ Cherry Lime Sparkle
Swap out water for sparkling water for a bubbly twist. Just freeze it quickly before the fizz fades! -
🌶️ Cherry Lime with a Hint of Heat
Add a tiny pinch of cayenne or red pepper flakes for a subtle spicy-sweet flavor explosion.
Fruity Mash-Ups to Experiment With
Feeling adventurous? Mix in or layer these fruits for next-level flavor:
-
🍓 Strawberry Cherry Lime
-
🥭 Cherry Lime Mango
-
🍉 Watermelon Lime Cherry
-
🍍 Pineapple Cherry Lime
You can even get inspiration from other easy fruit-based treats like this mango sorbet to experiment with blending techniques and fruit combinations!
Conclusion: Cool Down, the Cherry Lime Way
There’s just something irresistibly nostalgic about enjoying a frozen treat on a hot day — and when it’s made with real fruit, fresh lime, and none of the weird stuff? Even better.
Cherry lime ice pops bring together that magical balance of sweet, tart, and refreshing in one simple, healthy dessert. Whether you’re looking to impress guests at your next BBQ, keep the kids happy without the sugar crash, or just treat yourself after a long day — these pops deliver the goods.
And the best part? You’re totally in control. No preservatives. No artificial dyes. Just good-for-you ingredients that taste like summer. Plus, with endless variations and mix-ins, you’ll never run out of new ways to enjoy them.
Ready to beat the heat with a fruity twist? Get blending, freeze your pops, and don’t forget to check out this healthy fruit snack for kids while you’re at it — your freezer and your family will thank you!