
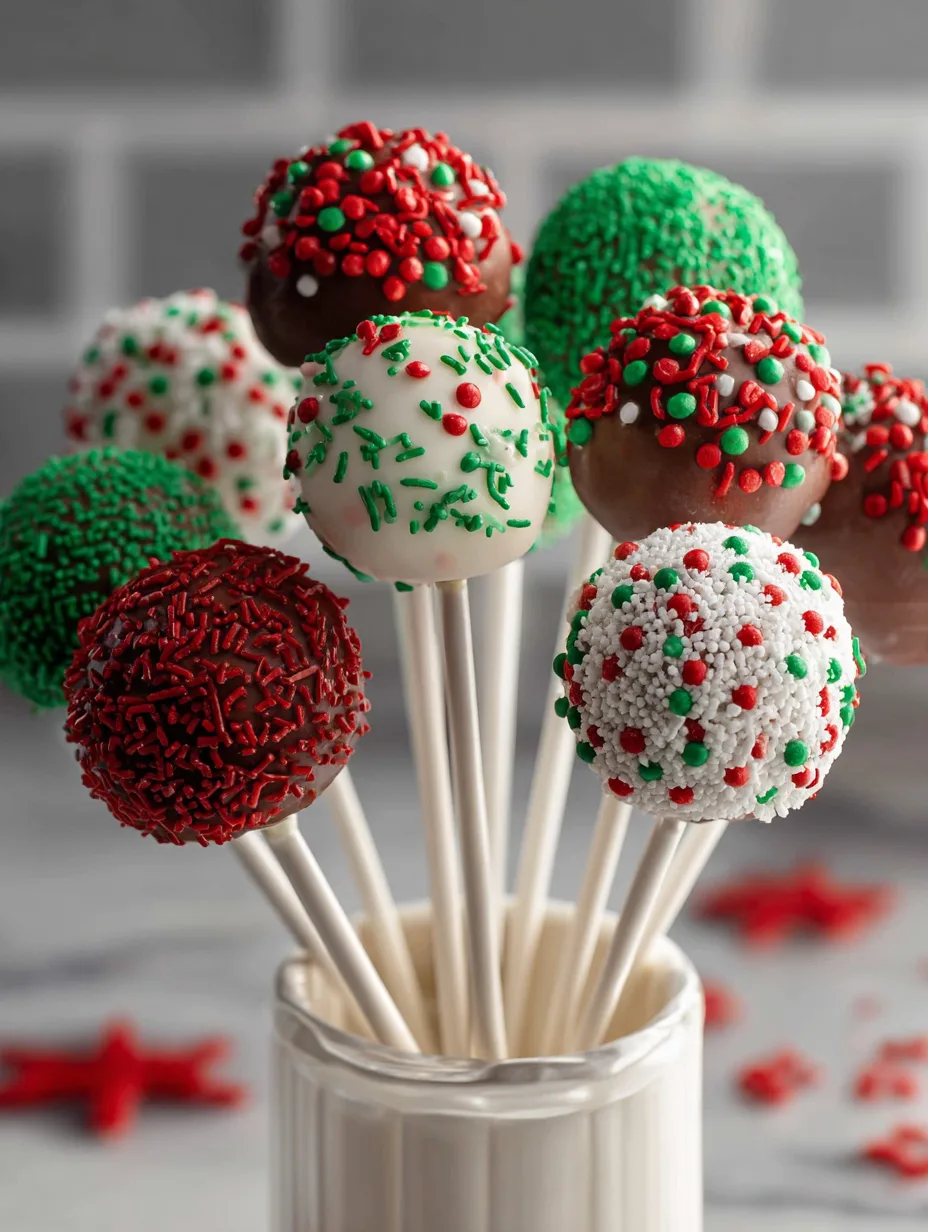
Nothing brings the holiday spirit to your kitchen quite like a Christmas Cake Pops Recipe. These mini, bite-sized treats are not only visually enchanting but also delightfully indulgent, making them perfect for parties, gifting, or just treating yourself. Whether dipped in chocolate, sprinkled with festive colors, or coated in glittering sugar, these cake pops capture the joy and magic of the season.
Why You’ll Love This Christmas Cake Pops Recipe
-
Quick and Easy: Ready in under an hour for busy holiday schedules.
-
Customizable Flavors: Vanilla, chocolate, or red velvet base works beautifully.
-
Kid-Friendly Fun: Little hands can help shape, dip, and decorate.
-
Show-Stopping Presentation: Perfect for holiday parties or gifting.
-
Budget-Friendly: Minimal ingredients with maximum festive impact.
-
Portable & Shareable: Great for school parties, potlucks, or office treats.
-
Creative Decorating: Endless options with sprinkles, edible glitter, and colored chocolate.
Ingredients for Christmas Cake Pops
For the Cake Pops
-
1 box of vanilla or chocolate cake mix (plus ingredients listed on the box)
-
½ cup frosting (store-bought or homemade, any flavor)
For the Coating & Decoration
-
12 oz white or dark chocolate candy melts
-
Assorted sprinkles (red, green, white)
-
Lollipop sticks
-
Optional: gel food coloring, edible glitter
Step-by-Step Instructions
1. Bake the Cake
Prepare the cake mix according to the package directions. Once baked, let it cool completely to room temperature—this prevents the cake from crumbling unevenly when forming pops.
2. Prepare the Cake Mixture
Crumble the cooled cake into fine crumbs in a large mixing bowl. Gradually mix in frosting until the mixture has a dough-like consistency. You should be able to roll it into a ball that holds its shape without falling apart.
3. Shape Cake Balls
Roll the mixture into 1-inch balls and place them on a parchment-lined baking sheet.
4. Chill the Cake Balls
Refrigerate for 1 hour or freeze for 20 minutes. Chilling ensures the pops retain their shape when dipped in chocolate.
5. Melt the Candy Coating
In a microwave-safe bowl, heat the candy melts in 30-second intervals, stirring until smooth. Optionally, add gel coloring to create festive red or green coatings.
6. Insert Lollipop Sticks
Dip the tip of each stick in melted chocolate and insert halfway into the cake ball. This acts as glue and secures the pop.
7. Coat the Cake Pops
Dip each pop into melted chocolate, gently tap off excess, and work quickly before the chocolate sets.
8. Decorate
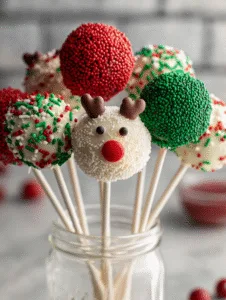
Add sprinkles, edible glitter, or colored chocolate immediately after coating.
9. Dry and Set
Place pops upright in a styrofoam block or cake pop stand. Let them dry completely at room temperature.
Pro Tips
How do you prevent cake pops from falling off the sticks?
Chilling the cake balls and dipping the stick in chocolate before inserting creates a strong bond.
Can I make these ahead of time?
Yes! Cake pops can be refrigerated for up to 5 days or frozen for 1 month in an airtight container.
Can I use homemade cake instead of boxed cake?
Absolutely! Any homemade cake works; just ensure it’s fully cooled for best results.
Why are my cake pops cracking?
The most common reason is the cake mixture being too dry. Add a little more frosting or a teaspoon of milk to achieve a malleable dough.
Best Ways to Serve Your Christmas Cake Pops
-
Display in festive jars or a cupcake stand at holiday parties.
-
Wrap individually in cellophane and tie with a ribbon for gifting.
-
Pair with hot cocoa or coffee for a seasonal treat.
Nutrition Facts (per pop, approx.)
-
Calories: 150 kcal
-
Fat: 7g
-
Saturated Fat: 4g
-
Carbohydrates: 21g
-
Sugar: 16g
-
Protein: 2g
Storage & Leftovers
-
Room Temperature: Up to 2 days in an airtight container.
-
Refrigerator: 5 days, tightly covered.
-
Freezer: 1 month; thaw at room temperature before serving.
Tip: Avoid stacking cake pops; they may stick together and lose shape.
Variations
-
Chocolate Lover’s Pop: Use chocolate cake + chocolate coating + chocolate sprinkles.
-
Red Velvet Christmas Cake Pops: Red velvet cake, cream cheese frosting, white chocolate coating.
-
Mini Pops: Perfect for cookie trays; bake smaller balls and adjust coating time.
-
Candy-Coated Pops: Dip in chocolate then roll in crushed candy canes or holiday M&Ms.
FAQs
Can I make these gluten-free?
Yes! Use a gluten-free cake mix and ensure candy melts are gluten-free.
Are Christmas cake pops kid-friendly?
Absolutely! Kids can help with shaping, dipping, and decorating safely.
What’s the best chocolate for dipping?
High-quality chocolate or candy melts. Tempering chocolate ensures a smooth finish.
How do I transport them?
Use a shallow box with styrofoam or cupcake liners to keep them upright.
Conclusion
This Christmas Cake Pops Recipe is the perfect way to add festive cheer to your holidays. They are fun, customizable, and irresistibly delicious. Create memories while decorating, gifting, and enjoying these tiny bites of joy.