
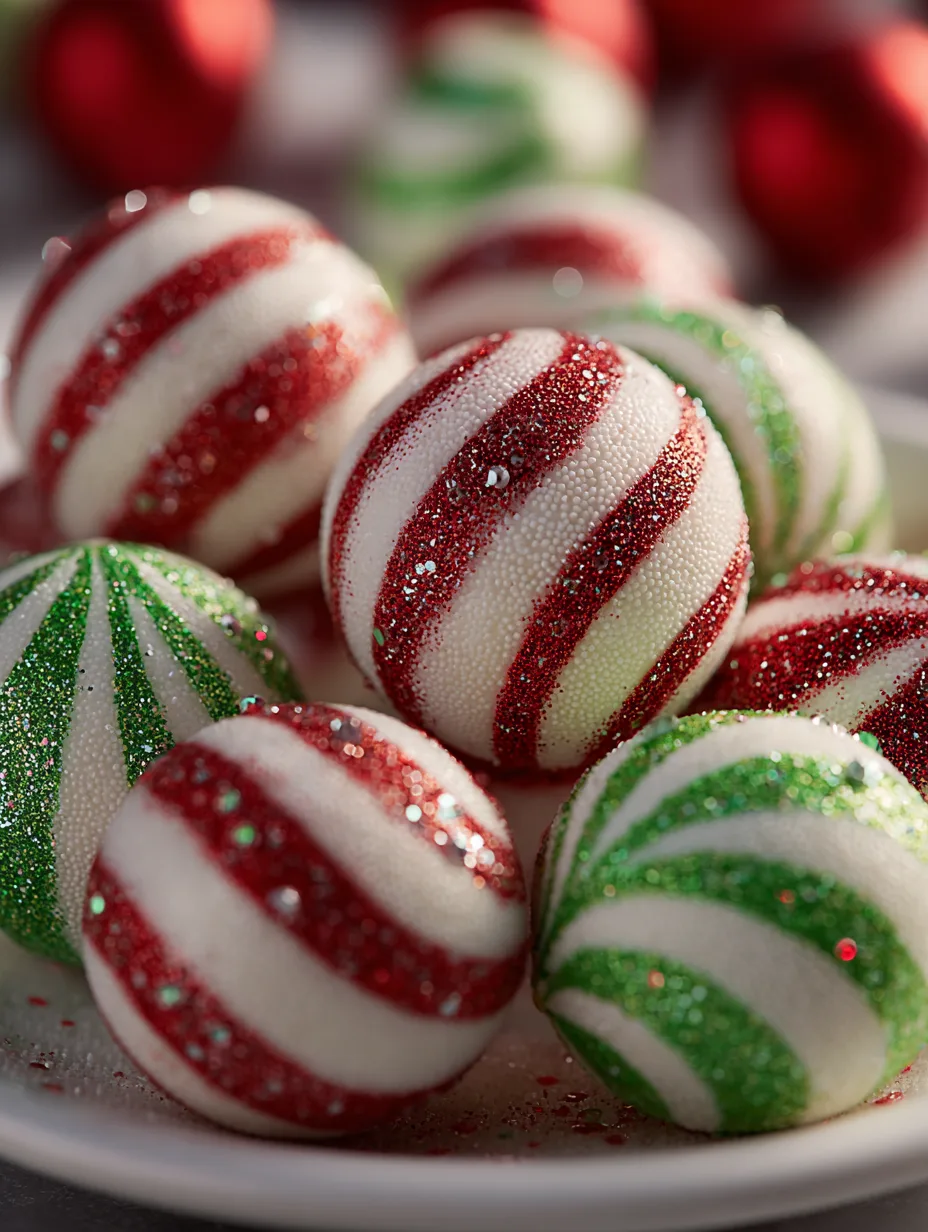
Nothing evokes holiday cheer quite like the sweet, minty aroma of fresh peppermint. Delicious No-Bake Soft Peppermint Balls Recipe offers a delightful way to craft festive candies without firing up the oven. These soft, chewy peppermint treats are perfect for gifting, holiday parties, or simply enjoying as a cozy winter snack. Bursting with creamy sweetness and a refreshing minty kick, this recipe transforms simple pantry ingredients into irresistible holiday magic.
Whether you are an experienced candy maker or trying your first no-bake dessert, this recipe guarantees easy, mess-free success. And the best part? You’ll achieve that perfect soft texture that melts in your mouth, making these peppermint balls a showstopper for any occasion.
Why You’ll Love This Delicious No-Bake Soft Peppermint Balls Recipe
-
Quick & Easy – Ready in just 30 minutes, no oven required.
-
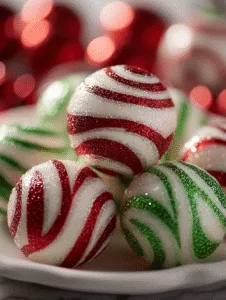
Festive & Fun – Vibrant red, green, and white layers bring holiday joy.
-
Soft & Chewy Texture – Unlike hard peppermint candies, these stay tender.
-
Customizable Flavors – Add chocolate drizzle, cocoa powder, or different extracts.
-
Kid-Friendly Activity – Rolling and twisting the dough makes a fun holiday craft.
-
Gift-Worthy – Packaged in jars or tins, these make thoughtful edible gifts.
-
Vegan-Friendly Options – Substitute butter and milk with plant-based alternatives.
-
Long-Lasting – Stays fresh and soft for up to two weeks when stored properly.
Ingredients
-
2 cups powdered sugar (confectioners’ sugar), sifted
-
1 tablespoon light corn syrup (or honey/maple syrup for natural sweetness)
-
2 tablespoons unsalted butter, softened (vegan butter works well)
-
½ teaspoon peppermint extract (pure extract ensures authentic flavor)
-
1 tablespoon milk (whole, almond, or oat milk) plus more if needed
-
Red gel food coloring
-
Green gel food coloring
-
Optional: edible glitter or luster dust for a festive finish
Ingredient Tips:
-
Powdered Sugar: Sifting is crucial for smooth, lump-free dough.
-
Butter/Corn Syrup: Helps create pliable dough that rolls easily.
-
Milk: Adjust to achieve soft but not sticky consistency.
-
Food Coloring: Gel or paste works best to avoid adding moisture.
Step-by-Step Instructions for Perfect No-Bake Peppermint Balls
Step 1: Prepare the Peppermint Dough
In a medium mixing bowl, combine sifted powdered sugar, corn syrup, softened butter, peppermint extract, and milk. Stir with a rubber spatula until smooth and pliable. If sticky, add more powdered sugar a tablespoon at a time. The goal is a soft, moldable dough similar to cookie dough.
Science Tip: Sifting sugar and gradually adding milk prevents crystallization, giving your peppermint balls a silky texture.
Step 2: Divide and Color
Separate the dough into three portions. Keep one plain, color the second red, and the third green. Knead each portion until uniform in color. Wearing gloves prevents staining your hands.
Pro Tip: Gel colors are more concentrated, giving vibrant colors without altering dough consistency.
Step 3: Roll and Layer
Dust a surface with powdered sugar. Roll each colored dough portion into ½-inch ropes. Twist all three together for a striped peppermint effect. Cut into 1-inch pieces or roll small pieces between palms into uniform balls. For a unique shape, flatten ropes and cut diagonally for mini squares.
Visual Cue: The dough should hold shape easily without cracking.
Step 4: Add Festive Touch
Place shaped peppermint balls on parchment paper. Sprinkle lightly with edible glitter or luster dust for a boutique candy look.
Fun Tip: Use colored sugar for a sparkling effect kids will love.
Step 5: Chill & Serve
Refrigerate for 30 minutes to firm up. Store in an airtight container with wax paper layers to prevent sticking. These soft peppermint balls remain flavorful and tender for up to two weeks.
Pro Tips
How do you make your peppermint balls softer?
Add ½ teaspoon more milk or a touch of corn syrup. Avoid overmixing to preserve a tender texture.
Can you make these without corn syrup?
Yes! Substitute with honey or maple syrup. Texture will be slightly different but still soft and delicious.
How do you prevent peppermint balls from sticking?
Use powdered sugar to dust surfaces and hands. Store in layers with wax paper to separate candies.
Best Ways to Serve Your Soft Peppermint Balls
-
Holiday Platters: Pair with cookies, chocolate truffles, and fudge.
-
Hot Chocolate Toppers: Add a peppermint ball on whipped cream for festive flair.
-
Gift Jars: Package in mason jars with ribbons for thoughtful gifts.
-
Party Favors: Wrap individually in clear cello bags for events.
-
Dessert Boards: Include with fruit, nuts, and other small candies.
Nutrition (Per Serving: 1 Peppermint Ball Approx.)
-
Calories: 70 kcal
-
Fat: 2 g
-
Carbohydrates: 12 g
-
Sugar: 10 g
-
Protein: 0.3 g
-
Fiber: 0 g
Tip: These candies are indulgent but portion-controlled treats.
Storage & Leftovers
-
Room Temperature: Up to 3 days in airtight container.
-
Refrigeration: 2 weeks, layer with wax paper.
-
Freezing: 1 month; thaw at room temperature before serving.
Storage Pro Tip: Soft candies retain their texture best when chilled.
Variations of This Peppermint Balls Recipe
-
Chocolate Drizzle: Melt dark or white chocolate and drizzle over cooled balls.
-
Spiced Peppermint: Add ¼ teaspoon cinnamon or nutmeg for holiday warmth.
-
Vegan Version: Use coconut milk and vegan butter for plant-based treats.
-
Mini Truffles: Roll smaller balls and coat with crushed candy canes.
-
Nutty Peppermint: Press finely chopped pistachios or almonds into the dough.
FAQs
Q: Can I make these ahead of time?
Yes! Prepare up to two weeks in advance and store in airtight containers.
Q: How do I adjust sweetness?
Reduce powdered sugar by 2–4 tablespoons for a less sweet version.
Q: What other flavors can I try?
Try vanilla, chocolate, or even orange extract for a unique twist.
Q: Can I use frozen peppermint extract?
Freshly measured extract is best; frozen extract may alter flavor intensity.
Conclusion
The Delicious No-Bake Soft Peppermint Balls Recipe brings the joy of the holidays right to your kitchen. Soft, chewy, and bursting with minty sweetness, these treats are perfect for sharing or indulging yourself. Easy to make, customizable, and visually festive, they’re a guaranteed hit.