
Introduction
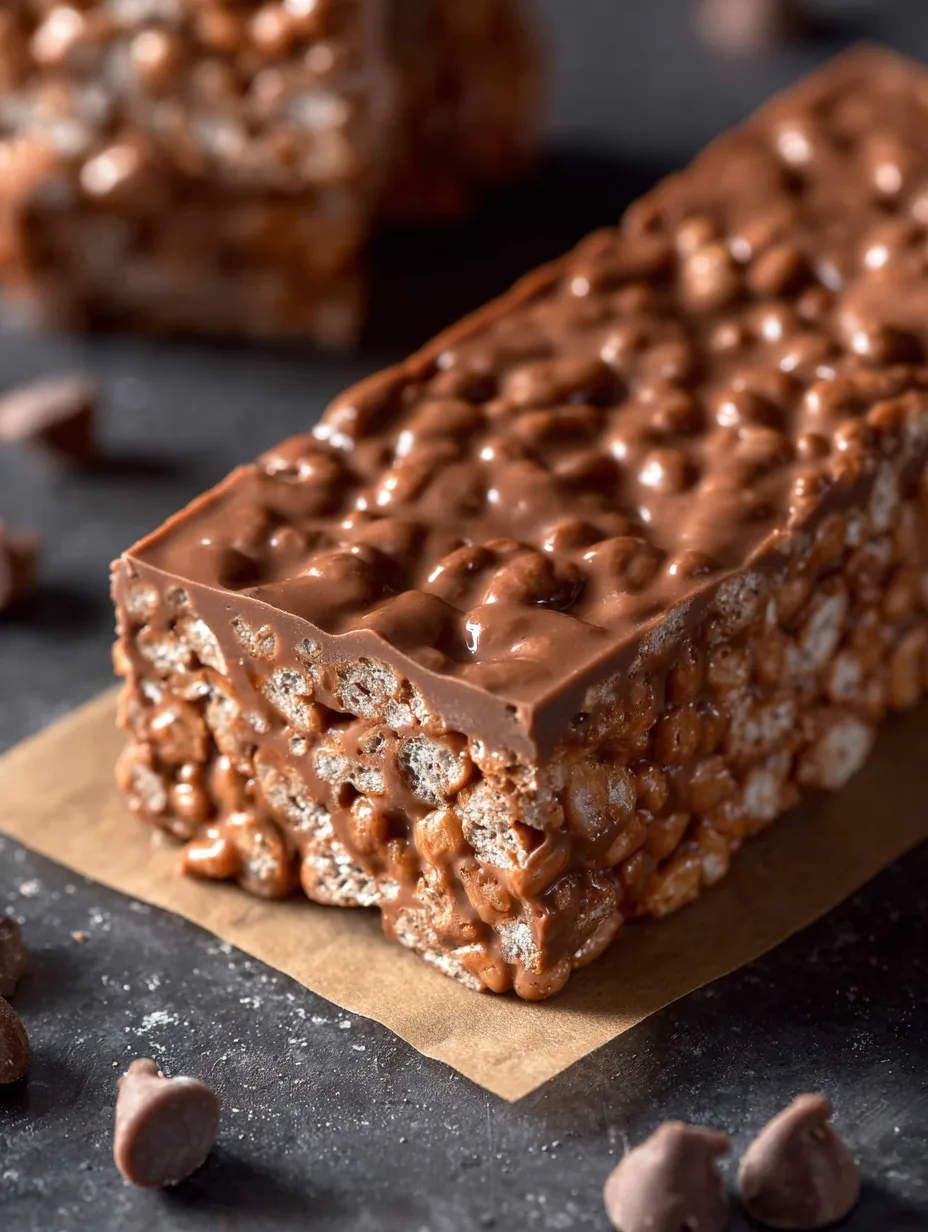
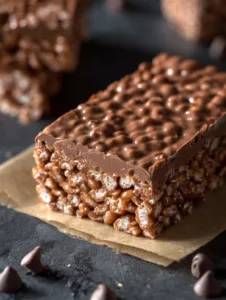
Crispy, chocolatey, and irresistibly sweet, Homemade Crunch Bars deliver the perfect bite every time. The smooth melted chocolate combined with light, airy crispy rice cereal creates a satisfying snap and crunch that chocolate lovers crave. Unlike store-bought candy bars, these homemade treats come together quickly and use simple pantry ingredients. They also taste richer and fresher because you control every step of the process. Whether you want a fun dessert, a snack for gatherings, or a DIY candy recipe, Homemade Crunch Bars always impress. You’ll learn how to create perfectly crunchy, chocolate-packed bars right at home.
Why You’ll Love This Recipe
There are many reasons why people fall in love with Homemade Crunch Bars. First, they offer the ideal balance of textures. The creamy melted chocolate coats every piece of crispy rice cereal, creating a delightful contrast between smooth and crunchy.
Another reason this recipe shines is simplicity. You only need a handful of ingredients and about fifteen minutes of active preparation. That makes these bars perfect for busy weeknights, last-minute desserts, or fun cooking projects with kids.
These chocolate treats also taste better than store-bought candy bars. Freshly melted chocolate creates a deeper flavor and smoother texture. Plus, you can customize sweetness, toppings, and mix-ins.
Finally, Homemade Crunch Bars work for almost any occasion. Serve them at parties, pack them in lunchboxes, or enjoy them with coffee as a sweet afternoon pick-me-up. The crisp bite, rich chocolate flavor, and quick preparation make this recipe a favorite for chocolate lovers everywhere.
Ingredients
Making Homemade Crunch Bars requires just a few ingredients, but choosing quality products will make a noticeable difference in flavor and texture.
-
2 cups (340 g) semi-sweet chocolate chips – Provides the rich chocolate base for the bars.
-
1 cup (170 g) milk chocolate chips – Adds creamy sweetness and balances the darker chocolate.
-
3 cups (90 g) crispy rice cereal – Creates the signature crunch that defines these chocolate crunch bars.
-
1 tablespoon (14 g) unsalted butter – Helps the chocolate melt smoothly and adds subtle richness.
-
1 teaspoon vanilla extract (5 ml) – Enhances the overall chocolate flavor.
-
Pinch of sea salt (optional) – Brightens the sweetness and deepens the chocolate taste.
These ingredients come together to form the classic candy texture you expect from Homemade Crunch Bars, but with a fresher, richer flavor than packaged candy.
Pro Tips for Perfect Crunch Bars
Creating the perfect batch of Homemade Crunch Bars depends on a few simple techniques that improve texture and flavor.
First, melt chocolate slowly. Use a double boiler or microwave in short bursts of 20–30 seconds while stirring frequently. Slow melting prevents the chocolate from seizing and keeps it silky smooth.
Second, mix the cereal gently but quickly. Once the chocolate melts, add the crispy rice cereal and fold it in carefully. Every piece should get coated, but excessive stirring can crush the cereal and reduce the crunchy texture.
Third, press the mixture lightly into the pan. Avoid packing it too firmly because the bars can become dense instead of airy and crisp. A light press keeps the structure intact while allowing the cereal to maintain its crunch.
Following these techniques ensures your Homemade Crunch Bars stay perfectly crisp, chocolatey, and delicious every time you make them.
Instructions
Making Homemade Crunch Bars is simple and rewarding. Follow these steps for perfect results.
Step 1 – Prepare the Pan
Line an 8×8 inch (20×20 cm) baking pan with parchment paper. Leave some paper hanging over the edges so you can easily lift the bars out later. This step prevents sticking and makes slicing cleaner.
Step 2 – Melt the Chocolate
Place the semi-sweet chocolate chips, milk chocolate chips, and butter in a microwave-safe bowl. Heat in 30-second intervals, stirring after each round until the mixture melts completely. The chocolate should look glossy and smooth.
Step 3 – Add Flavor
Stir the vanilla extract and a small pinch of sea salt into the melted chocolate. This step deepens the chocolate flavor and balances the sweetness.
Step 4 – Mix in the Cereal
Pour the crispy rice cereal into the bowl. Using a spatula, gently fold the cereal into the melted chocolate. Continue mixing until every piece becomes coated with chocolate.
Step 5 – Transfer to the Pan
Pour the mixture into the prepared baking pan. Spread it evenly with a spatula. Press lightly so the mixture forms a flat, even layer without compressing the cereal too much.
Step 6 – Chill the Bars
Place the pan in the refrigerator for about 1–2 hours. The chocolate will firm up and hold the cereal together.
Step 7 – Slice and Serve
Lift the set chocolate slab from the pan using the parchment paper. Place it on a cutting board and slice into squares or rectangles. Each piece of Homemade Crunch Bars should snap slightly when you bite into it.
Variations
One of the best things about Homemade Crunch Bars is how easily you can customize them.
For a peanut butter version, stir 1/4 cup (60 g) creamy peanut butter into the melted chocolate. This variation creates peanut butter crunch bars with a richer, nutty flavor.
If you enjoy darker chocolate, replace the milk chocolate with dark chocolate chips. Dark chocolate crispy bars offer a deeper cocoa taste and slightly less sweetness.
You can also add fun mix-ins. Mini marshmallows, chopped almonds, or crushed pretzels introduce extra texture and flavor. These small additions transform classic Homemade Crunch Bars into creative dessert bars that feel new every time you make them.
Storage and Serving Suggestions
Store Homemade Crunch Bars in an airtight container at room temperature for up to five days. If your kitchen runs warm, keep them in the refrigerator so the chocolate stays firm.
For longer storage, you can freeze the bars for up to two months. Wrap each piece individually and store them in a sealed container. Thaw them at room temperature before serving.
Serve these crunchy chocolate bars in several fun ways. Pair them with coffee or hot chocolate for a satisfying dessert. Crumble a piece over vanilla ice cream to add a crunchy topping. You can also wrap individual bars in parchment paper for lunchbox treats or homemade gift baskets.
However you serve them, Homemade Crunch Bars deliver the perfect balance of chocolate richness and crispy texture.
FAQs
Can I use dark chocolate instead of milk chocolate?
Yes. Dark chocolate works well in Homemade Crunch Bars and creates a richer flavor with less sweetness.
What cereal works best for this recipe?
Classic crispy rice cereal gives the best light crunch. Avoid heavily flavored cereals because they can overpower the chocolate.
Why did my chocolate seize while melting?
Chocolate can seize if it overheats or contacts moisture. Melt it slowly and stir frequently to keep it smooth.
Can I make these bars dairy-free?
Yes. Use dairy-free chocolate chips and replace butter with coconut oil for a similar texture.
How do I cut the bars neatly?
Use a sharp knife and wipe it clean between cuts. This trick helps create smooth edges on each piece of Homemade Crunch Bars.
Conclusion
This Homemade Crunch Bars recipe is comfort food at its finest — rich melted chocolate combined with light crispy cereal that creates the perfect sweet snap. It’s the kind of dish that satisfies chocolate cravings instantly while being easy enough for quick homemade treats, family desserts, or party snacks.
Once you try making Homemade Crunch Bars from scratch, you may never want the store-bought version again. They come together quickly, taste incredibly fresh, and allow endless customization. Keep this simple recipe in your dessert collection whenever you need a fast, crunchy chocolate treat.
Print
Homemade Crunch Bars
- Total Time: 45 minutes
Description
These Homemade Crunch Bars are the perfect chocolate treat with a crispy bite in every square. Once you try this easy homemade version, store-bought candy bars will never taste the same.
Ingredients
-
2 cups semi-sweet chocolate chips
-
1 cup milk chocolate chips
-
3 cups crispy rice cereal
-
1 tablespoon unsalted butter
-
1 teaspoon vanilla extract
-
Pinch sea salt (optional)
Instructions
-
Line an 8×8 inch baking pan with parchment paper.
-
Place chocolate chips and butter in a microwave-safe bowl and heat in 30-second intervals, stirring until melted and smooth.
-
Stir in the vanilla extract and sea salt.
-
Add the crispy rice cereal and gently fold until fully coated with chocolate.
-
Spread the mixture evenly into the prepared pan and lightly press it down.
-
Refrigerate for 1–2 hours until firm.
-
Lift from the pan, slice into bars, and serve.
- Prep Time: 15 minutes
- Cook Time: 30 minutes
- Category: cooking
- Cuisine: American