
Introduction
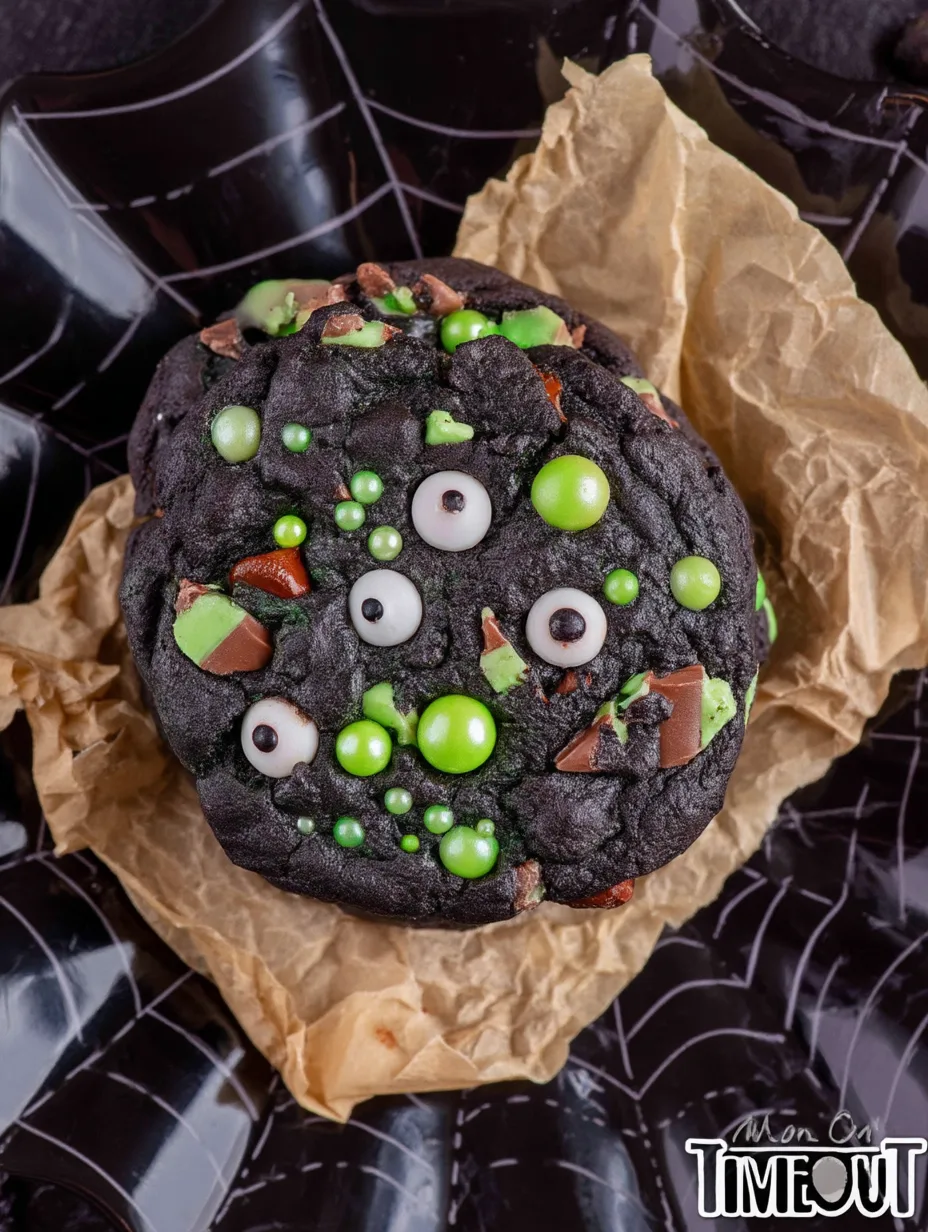
Bright green, chewy, and bursting with cool mint flavor, Mint Chocolate Chip Monster Halloween Cookies bring spooky-season fun to every bite. These festive cookies combine refreshing mint, rich chocolate chips, and a soft, bakery-style texture that makes them irresistible to kids and adults alike. Their playful monster-inspired color makes them perfect for Halloween parties, school celebrations, and cozy autumn baking days. Best of all, you can prepare them with simple pantry staples and a few fun decorations. You’ll learn how to bake these eye-catching treats with delicious flavor, perfect texture, and plenty of Halloween personality.
Why You’ll Love This Recipe
These Mint Chocolate Chip Monster Halloween Cookies deliver everything you want in a festive homemade dessert. Each cookie has a tender, chewy center, lightly crisp edges, and generous pockets of melted chocolate. The refreshing mint balances the sweetness, creating a flavor combination that feels familiar yet exciting.
The vibrant green color instantly gives these cookies their monster-inspired personality. Add candy eyeballs, and suddenly an ordinary chocolate chip cookie becomes a playful Halloween character. You can make every cookie look different, which makes decorating especially fun for children and anyone who enjoys creative baking.
Another reason to love this recipe is its simplicity. You don’t need complicated techniques, special equipment, or professional decorating skills. A mixing bowl, a baking sheet, and a little imagination will get you started.
These cookies also work beautifully for Halloween dessert tables, bake sales, classroom celebrations, and homemade gift boxes. Serve them with cold milk or hot cocoa for an extra-cozy treat. Whether you prefer spooky, silly, or downright adorable decorations, this recipe lets you create cookies that taste just as delightful as they look.
Ingredients
For the best Mint Chocolate Chip Monster Halloween Cookies, use room-temperature ingredients and measure carefully. These quantities make approximately 20–24 cookies, depending on the size of your dough portions.
-
2 ¼ cups (280 g) all-purpose flour: Provides structure while keeping the cookies tender.
-
1 teaspoon baking soda (5 g): Helps the cookies spread and develop lightly crisp edges.
-
½ teaspoon salt (3 g): Balances sweetness and enhances the chocolate flavor.
-
½ cup (113 g) unsalted butter, softened: Creates a rich, chewy texture.
-
¾ cup (150 g) granulated sugar: Encourages gentle spreading and crisp edges.
-
½ cup (100 g) packed light brown sugar: Adds moisture and a subtle caramel flavor.
-
1 large egg: Binds the ingredients and supports a soft center.
-
1 teaspoon vanilla extract (5 ml): Rounds out the mint and chocolate flavors.
-
½–1 teaspoon peppermint extract (2.5–5 ml): Adds refreshing mint flavor. Start with ½ teaspoon for a balanced taste.
-
Green gel food coloring: Creates a vivid monster-inspired shade without thinning the dough.
-
1 ½ cups (255 g) semi-sweet chocolate chips: Provide rich chocolate pockets in every bite.
-
Candy eyeballs: Give each cookie a playful monster appearance.
Pro Tips
Three simple techniques help you achieve cookies that look festive and taste fantastic.
1. Measure your flour correctly. Too much flour can make cookies dry, thick, and crumbly. Fluff the flour before spooning it into your measuring cup, then level the top with a straight edge. If you own a kitchen scale, weighing 280 grams gives you the most consistent results.
2. Balance the mint flavor. Peppermint extract has a strong flavor, so begin with ½ teaspoon and adjust according to your preference. Avoid adding too much, as an overpowering mint flavor can overwhelm the chocolate. Green gel food coloring works best because it provides a vibrant color without adding excess liquid. Mix in a little at a time until the dough reaches your desired shade.
3. Watch the baking time carefully. Remove the cookies when their edges look set but the centers still appear slightly soft. They will continue cooking on the hot baking sheet after you take them out of the oven. For the cutest monster faces, gently press candy eyeballs into the cookies immediately after baking. If you add them before baking, some candies may shift or discolor in the oven.
One additional tip: chill the dough for 20–30 minutes if your kitchen feels warm or the dough seems sticky. This helps control spreading and makes the cookies easier to portion.
Step-by-Step Instructions
Step 1: Prepare your baking sheets.
Preheat your oven to 350°F (175°C). Line two baking sheets with parchment paper to prevent sticking and encourage even browning. Make sure your oven reaches the correct temperature before baking the first batch. This small step helps the cookies bake consistently.
Step 2: Combine the dry ingredients.
In a medium bowl, whisk together the flour, baking soda, and salt. Break up any flour lumps so the leavening agent distributes evenly throughout the mixture. Set the bowl aside while you prepare the wet ingredients.
Step 3: Cream the butter and sugars.
In a large mixing bowl, beat the softened butter, granulated sugar, and brown sugar for about 2–3 minutes. The mixture should look creamy and slightly fluffy. An electric hand mixer makes this step easier, but a sturdy wooden spoon also works. Properly creamed butter helps create a soft, satisfying cookie texture.
Step 4: Add the egg and flavorings.
Beat in the egg, vanilla extract, and peppermint extract until the mixture looks smooth. Add a few drops of green gel food coloring and mix thoroughly. Continue adding small amounts until you achieve a bright green shade. Remember that the color may look slightly less vivid after baking.
Step 5: Make the cookie dough.
Add the dry ingredients to the wet mixture in two additions. Mix on low speed or stir by hand until the flour disappears. Avoid overmixing, which can make cookies tough. Fold in the chocolate chips, distributing them evenly so every cookie gets plenty of chocolate.
Step 6: Portion the cookies.
Scoop approximately 1½ tablespoons of dough for each cookie and arrange the portions on your prepared baking sheets. Leave about 2 inches (5 cm) between them to allow for spreading. If you want thicker cookies, chill the dough for 20–30 minutes before baking.
Step 7: Bake until just set.
Bake for 9–12 minutes, checking early because ovens vary. The edges should look set while the centers remain slightly soft. Don’t wait for the entire surface to turn firm or deeply browned. The cookies will finish setting as they cool.
Step 8: Create the monster faces.
Remove the baking sheets from the oven and immediately press two or three candy eyeballs into each cookie. Place them at different angles to create funny expressions. For extra chocolate, press a few additional chocolate chips into the warm tops.
Step 9: Cool and serve.
Let the cookies rest on the baking sheet for 5 minutes before transferring them to a wire rack. Allow them to cool completely before stacking or packaging. Enjoy your Mint Chocolate Chip Monster Halloween Cookies while the chocolate remains slightly melty, or let them cool for a firmer, chewy finish.
Variations
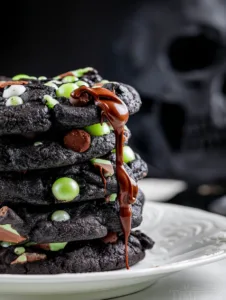
One of the best things about this recipe is how easily you can customize it for different tastes and Halloween themes.
Double Chocolate Monsters: Replace ¼ cup (30 g) of the flour with unsweetened cocoa powder. This creates a chocolate-forward cookie with a striking green interior if you keep the food coloring.
White Chocolate Mint Cookies: Swap the semi-sweet chocolate chips for 1½ cups (255 g) of white chocolate chips. The creamy sweetness pairs beautifully with peppermint and makes the green color stand out.
Gluten-Free Monster Cookies: Use a trusted 1:1 gluten-free baking flour blend that contains xanthan gum. Check that your chocolate chips and candy decorations are gluten-free, too. The texture may vary slightly depending on the blend.
You can also experiment with the decorations. Use one large candy eye for a silly cyclops monster, or add three eyes for a more mischievous look. For a darker Halloween theme, mix in black or purple sprinkles just before baking.
Storage and Serving
Store completely cooled Mint Chocolate Chip Monster Halloween Cookies in an airtight container at room temperature for up to 4–5 days. Place parchment paper between layers if you stack them, especially when the candy eyeballs sit high on the surface. Keep the container away from direct sunlight or warm appliances to protect the green color and prevent the chocolate from melting.
For longer storage, freeze the baked cookies in a freezer-safe container for up to 2–3 months. Thaw them at room temperature before serving. You can also freeze portions of raw cookie dough for convenient future baking. Bake frozen dough portions with a little extra time, checking for set edges and soft centers.
For a festive Halloween spread, serve these cookies alongside hot chocolate, cold milk, or a minty milkshake. They also make charming additions to Halloween party platters, treat bags, and school bake-sale displays. Pair them with orange-frosted cupcakes or spooky brownies for a colorful dessert table.
If you’re preparing them ahead for a party, bake the cookies a day early and store them carefully. Add fresh decorations after baking if you want the candy eyes to look especially neat.
Frequently Asked Questions
1. Can I make the cookie dough ahead of time?
Yes! Cover the dough and refrigerate it for up to 48 hours. Let it sit at room temperature briefly if it becomes too firm to scoop. Chilling can also help prevent excessive spreading.
2. Can I use mint chocolate chips instead of peppermint extract?
Absolutely. Mint chocolate chips add extra flavor and texture. You can reduce or omit the peppermint extract depending on how strongly flavored the chips are. Taste preferences vary, so start with a small amount.
3. Why did my cookies spread too much?
Soft or melted butter, warm dough, excess sugar, or inaccurate flour measurements can cause excessive spreading. Chill the dough for 20–30 minutes and make sure your baking sheet has cooled before using it for another batch.
4. When should I add the candy eyeballs?
Press them into the cookies immediately after baking, while the surface remains soft. This helps them stick without exposing the candies to prolonged oven heat.
5. Can I make these cookies without green food coloring?
Yes. The cookies will still taste delicious without coloring, although they’ll lose their classic monster appearance. You can also use another gel color, such as purple or orange, for a different Halloween theme.
This Mint Chocolate Chip Monster Halloween Cookies recipe is comfort food at its finest, combining refreshing mint, rich chocolate chips, and soft, chewy centers with a playful Halloween twist. It’s the kind of treat that brings smiles to Halloween parties, makes family baking afternoons more memorable, and turns an ordinary dessert into something delightfully spooky. With their vibrant green color and silly candy eyeballs, these cookies are just as fun to decorate as they are to eat. Make a batch for your next autumn celebration, invite everyone to create their own monster faces, and enjoy a festive homemade treat that disappears almost as quickly as you serve it!
Print
Mint Chocolate Chip Monster Halloween Cookies
- Total Time: 45
Description
Meet your new favorite Halloween treat! These Mint Chocolate Chip Monster Cookies are bright, chewy, chocolatey, and irresistibly fun for spooky parties and autumn celebrations.
Ingredients
-
2 ¼ cups (280 g) all-purpose flour
-
1 teaspoon (5 g) baking soda
-
½ teaspoon (3 g) salt
-
½ cup (113 g) unsalted butter, softened
-
¾ cup (150 g) granulated sugar
-
½ cup (100 g) packed light brown sugar
-
1 large egg
-
1 teaspoon (5 ml) vanilla extract
-
½–1 teaspoon (2.5–5 ml) peppermint extract
-
Green gel food coloring, as needed
-
1 ½ cups (255 g) semi-sweet chocolate chips
-
Candy eyeballs, as needed
Instructions
-
Preheat the oven to 350°F (175°C) and line two baking sheets with parchment paper.
-
Whisk together the flour, baking soda, and salt in a medium bowl.
-
Beat the softened butter, granulated sugar, and brown sugar until creamy and fluffy.
-
Mix in the egg, vanilla extract, peppermint extract, and green gel food coloring until smooth.
-
Gradually add the dry ingredients to the wet mixture, mixing just until combined.
-
Fold in the chocolate chips until evenly distributed throughout the dough.
-
Scoop approximately 1½ tablespoons of dough per cookie and arrange on the prepared baking sheets, leaving about 2 inches between cookies.
-
Chill the dough for 20–30 minutes if it feels too soft or sticky.
-
Bake for 9–12 minutes, until the edges look set and the centers remain slightly soft.
-
Immediately press candy eyeballs into the warm cookies to create monster faces.
-
Let the cookies cool on the baking sheets for 5 minutes before transferring them to a wire rack.
-
Cool completely before storing in an airtight container or serving at your Halloween celebration.
- Prep Time: 25
- Category: cookies
- Cuisine: amircain